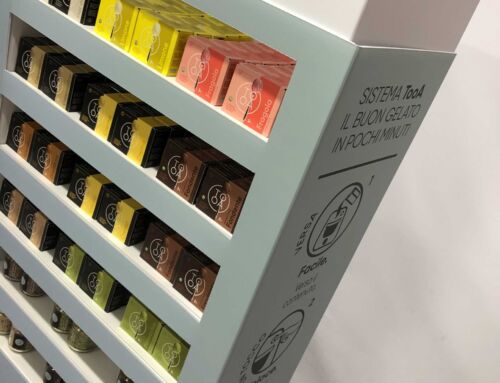
WELCOME TO THE FASTAND RAEE STATION ASSEMBLY SCHEME
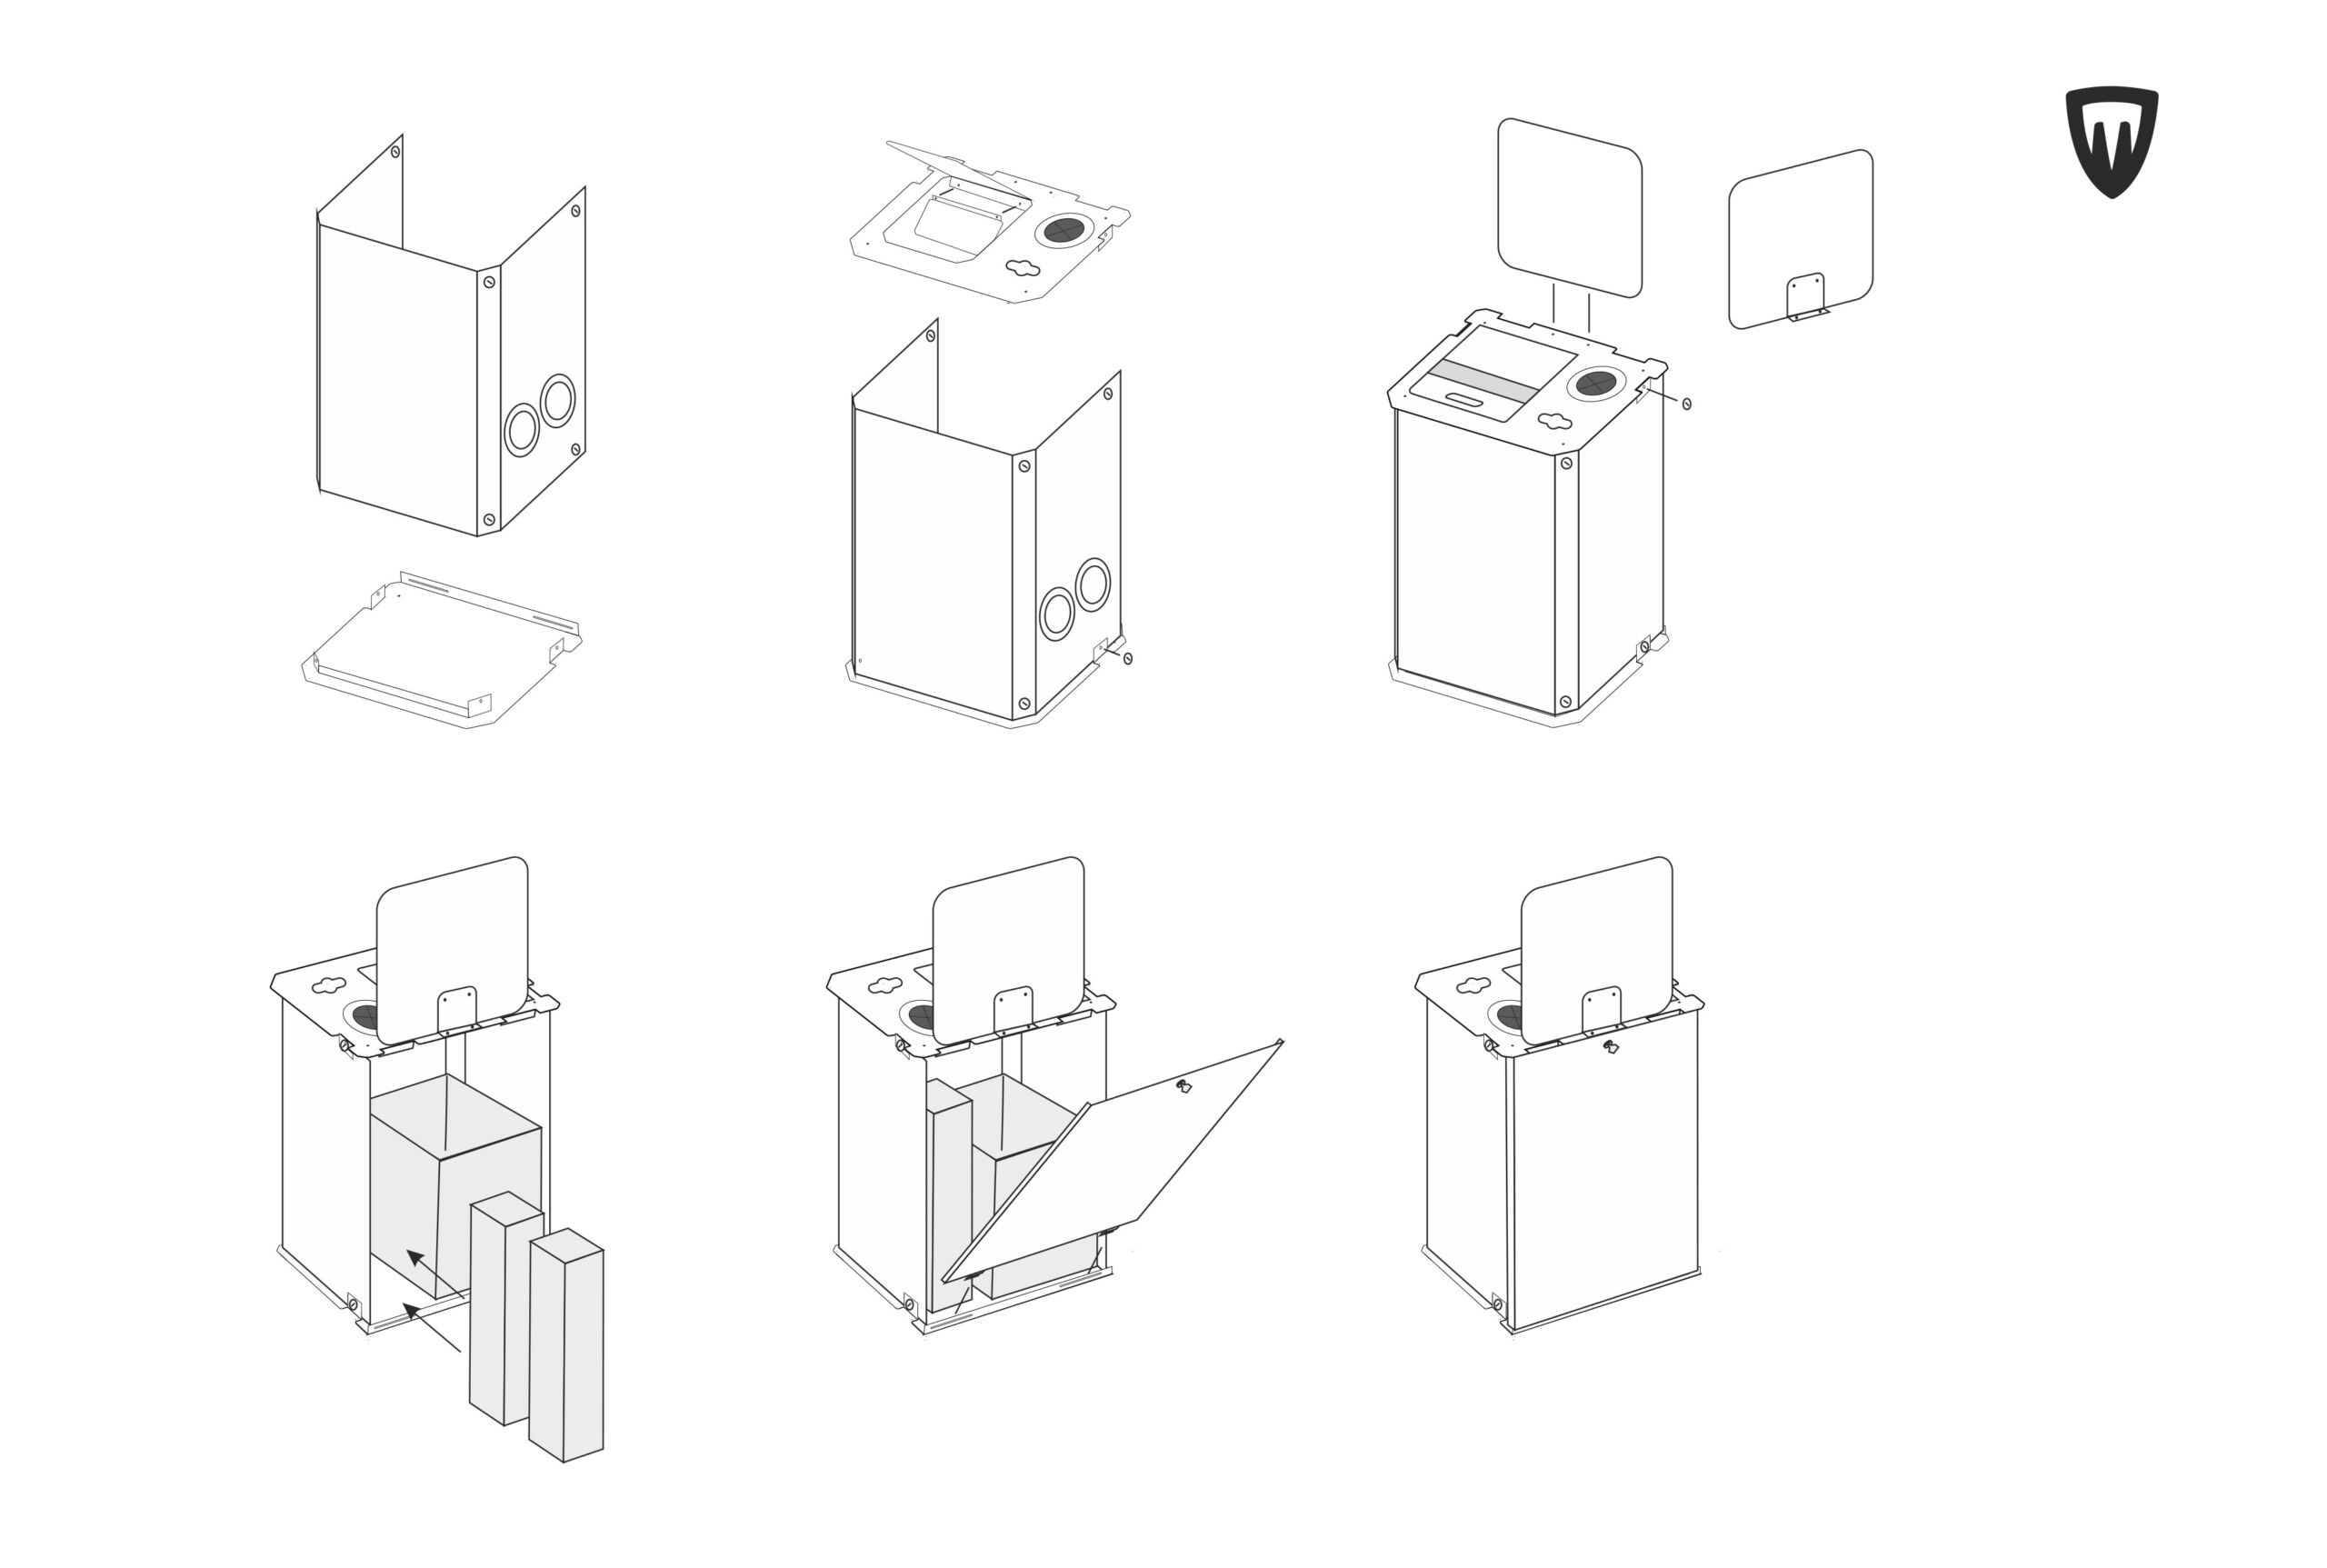
Welcome to the assembly section for the new WEEE Station. Follow the instructions step by step. No tools required.
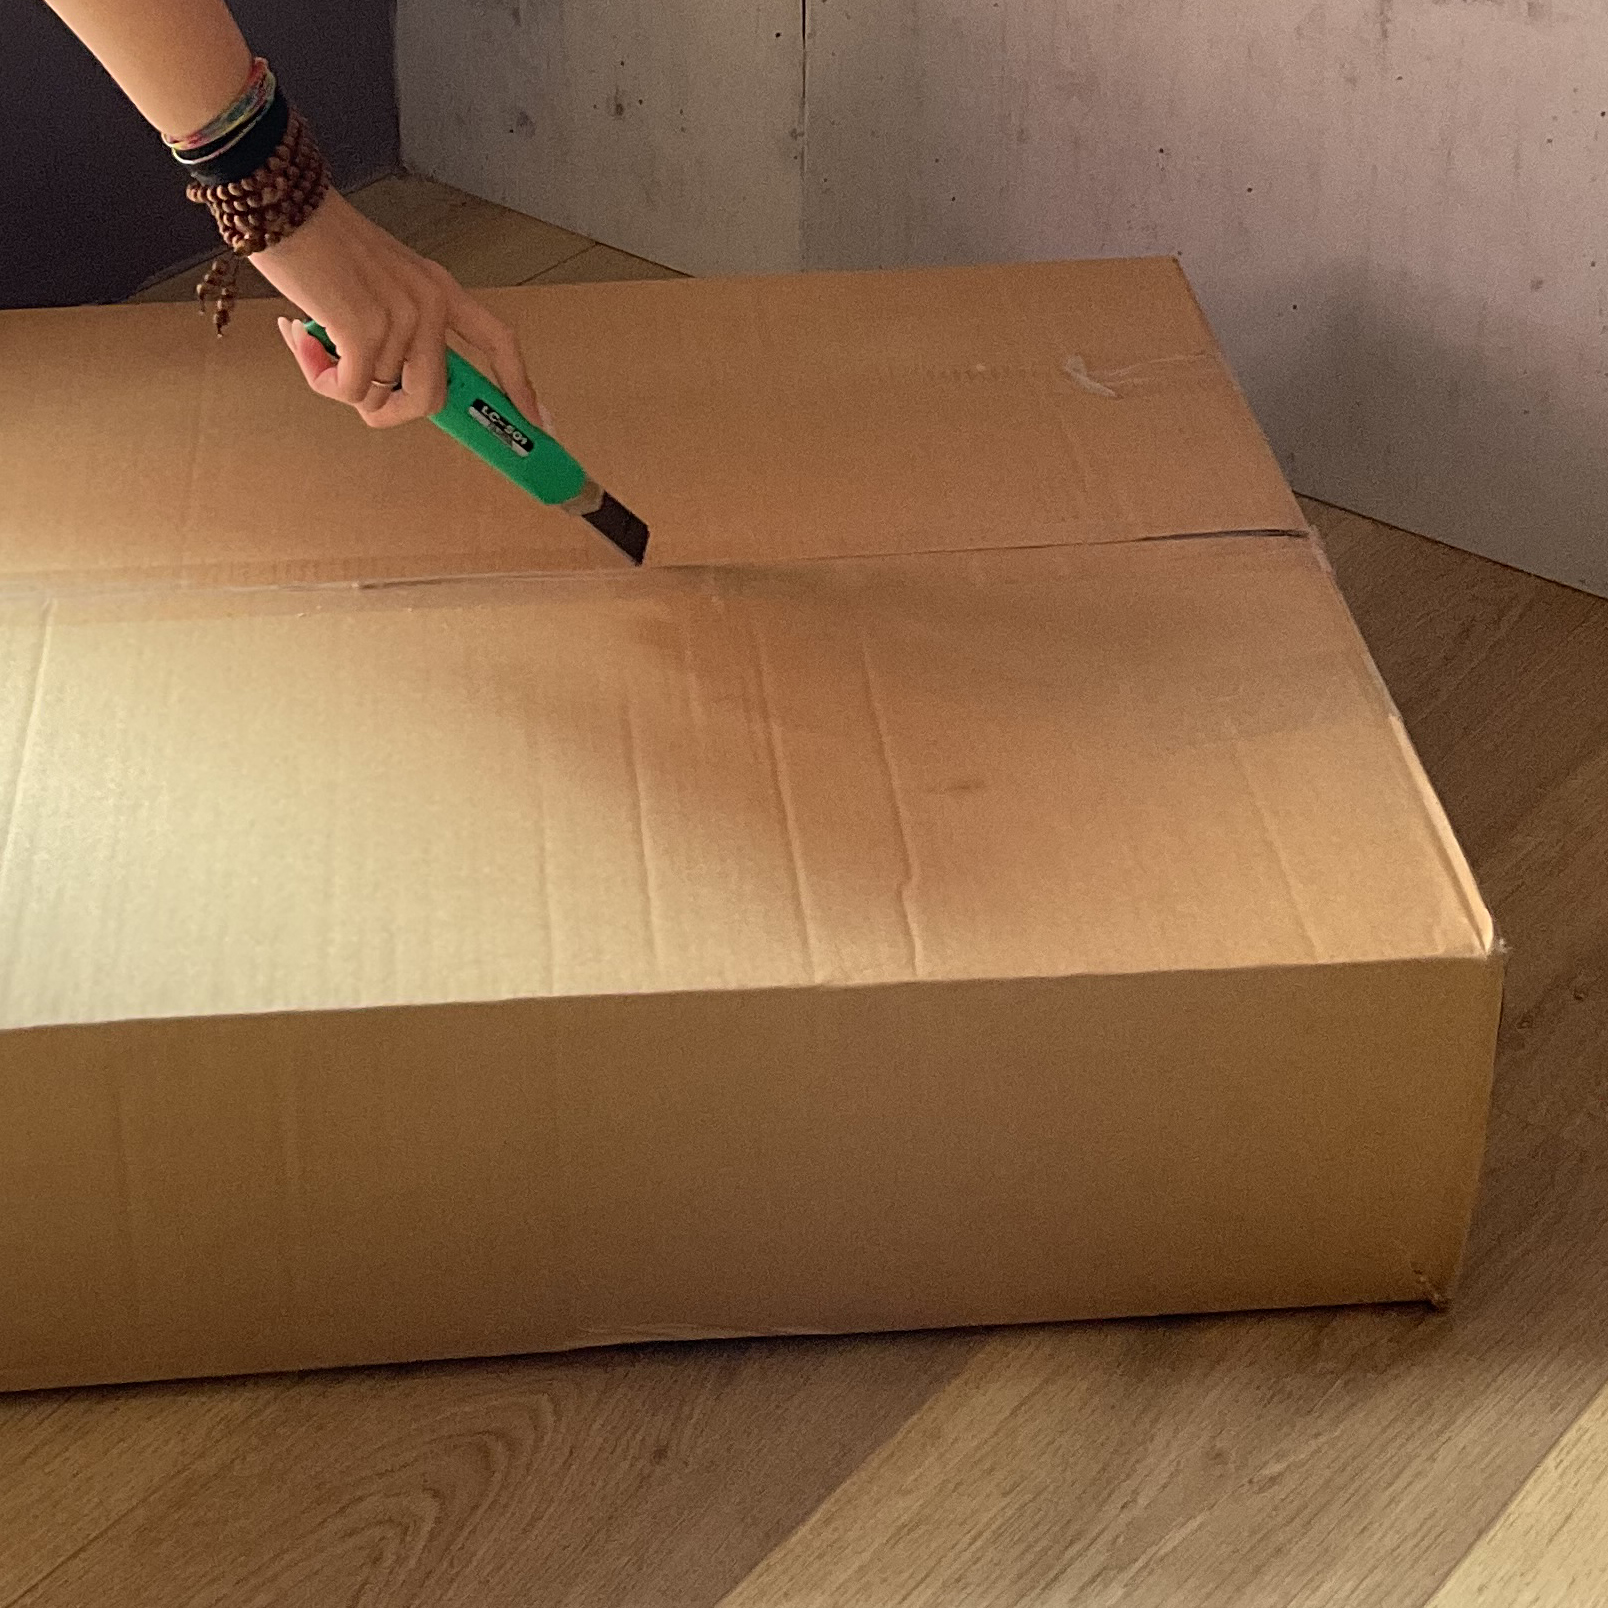
Open the box, take care not to push the blade too deep to avoid damaging the components inside.
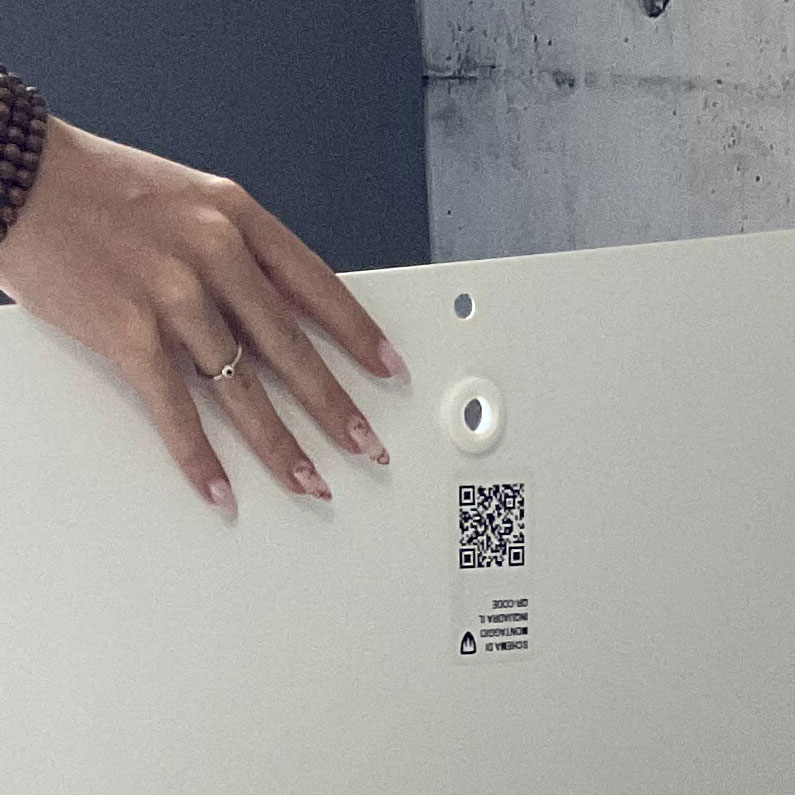
The rear door has a label with a QR‑code attached; scan it to return to this section.
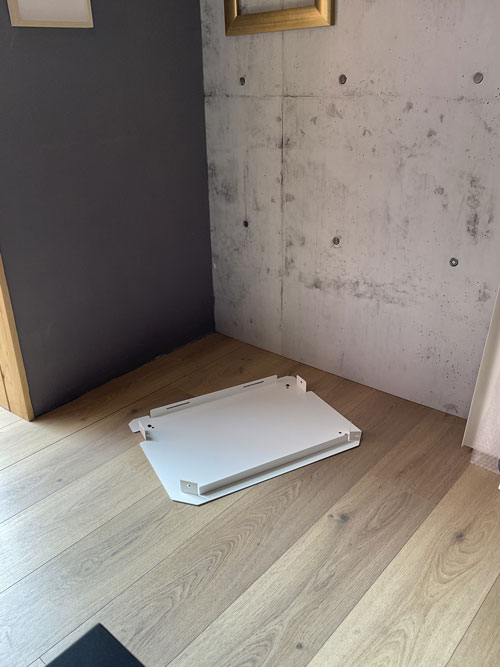
Place the base of the WEEE Station on the ground. Remove the hooks as shown in the photo.
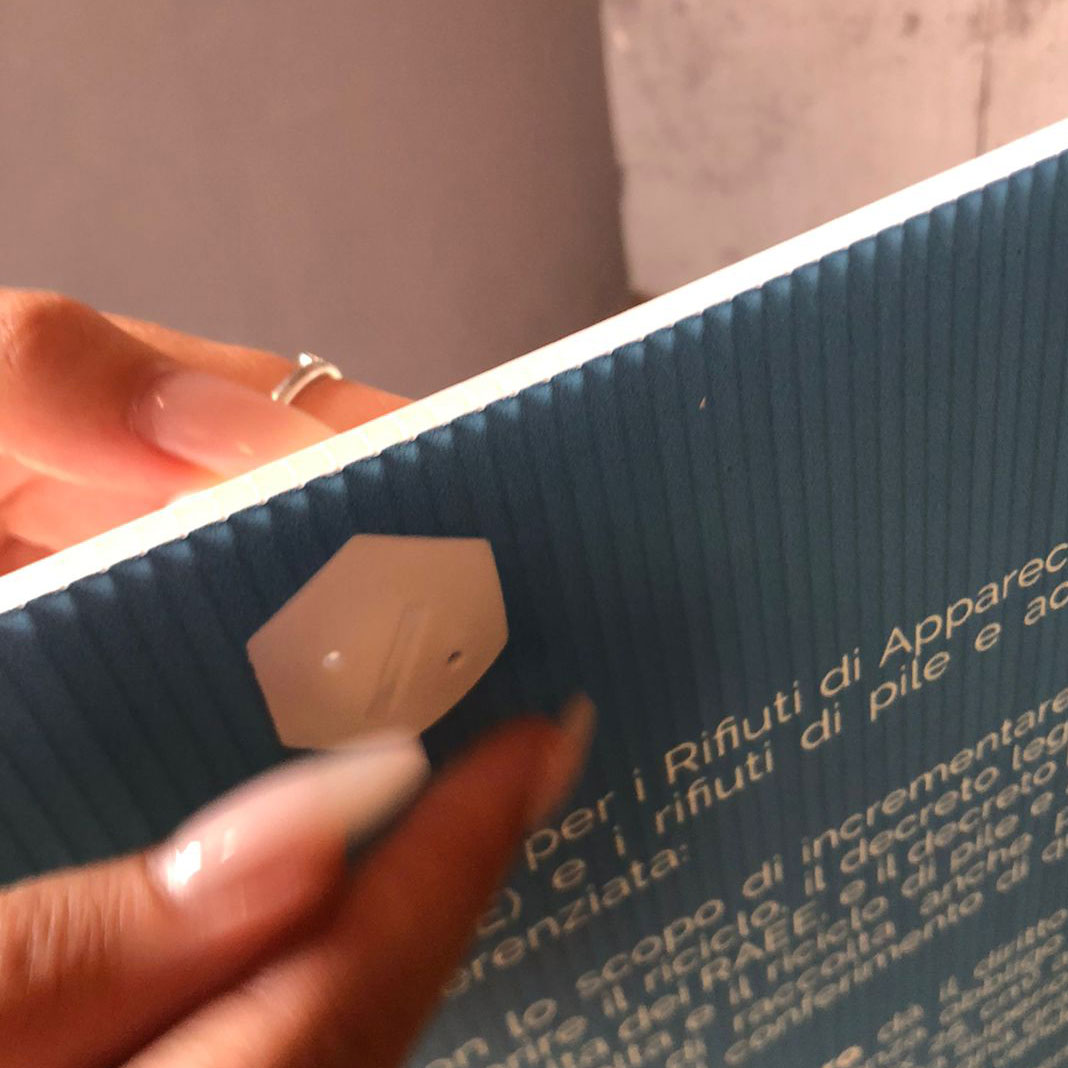
Unscrew the fasteners already inserted in the panel holes. There are 4 at the top and 4 at the bottom.
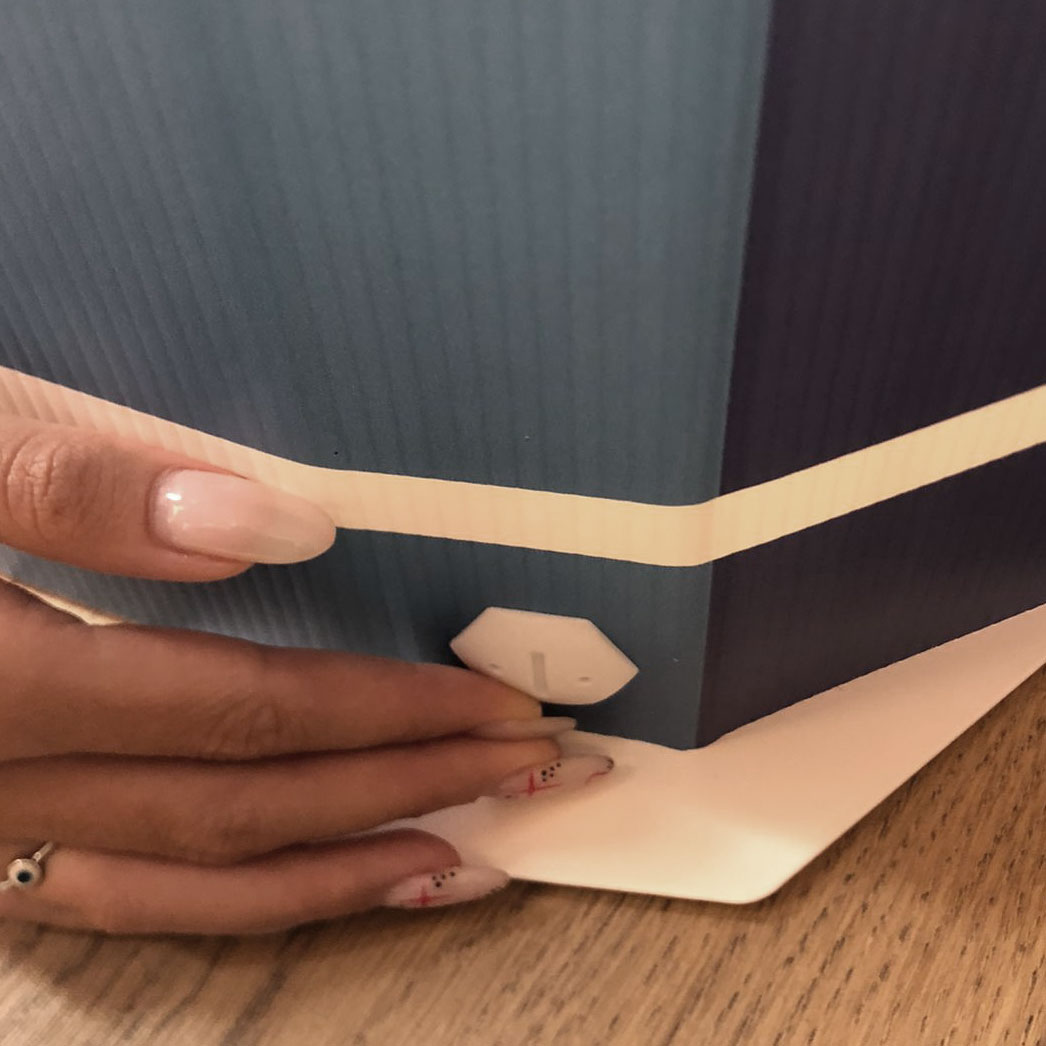
Insert the fixing points between the frame and the graphic panel, 4 lower points and 4 upper points.
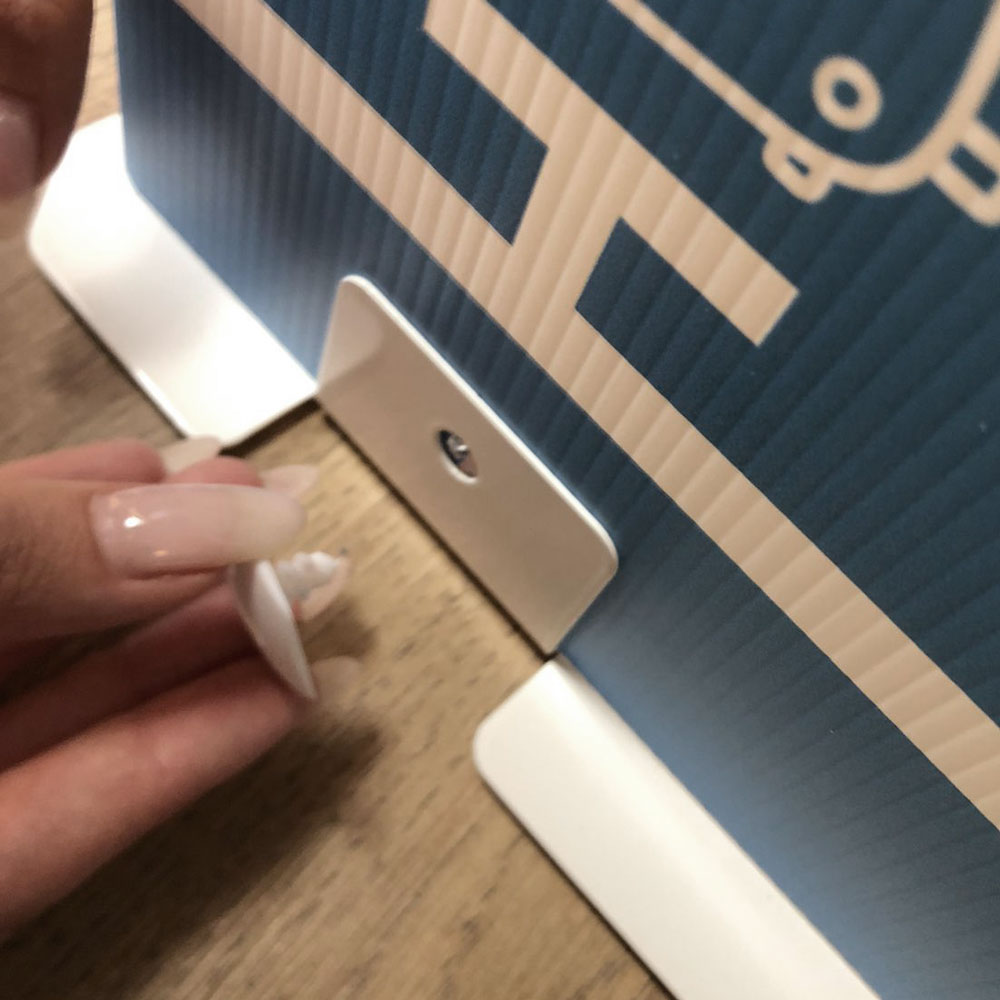
Attention: assemble as shown in the photo, with the frame visible on the outside and the panel on the inside.
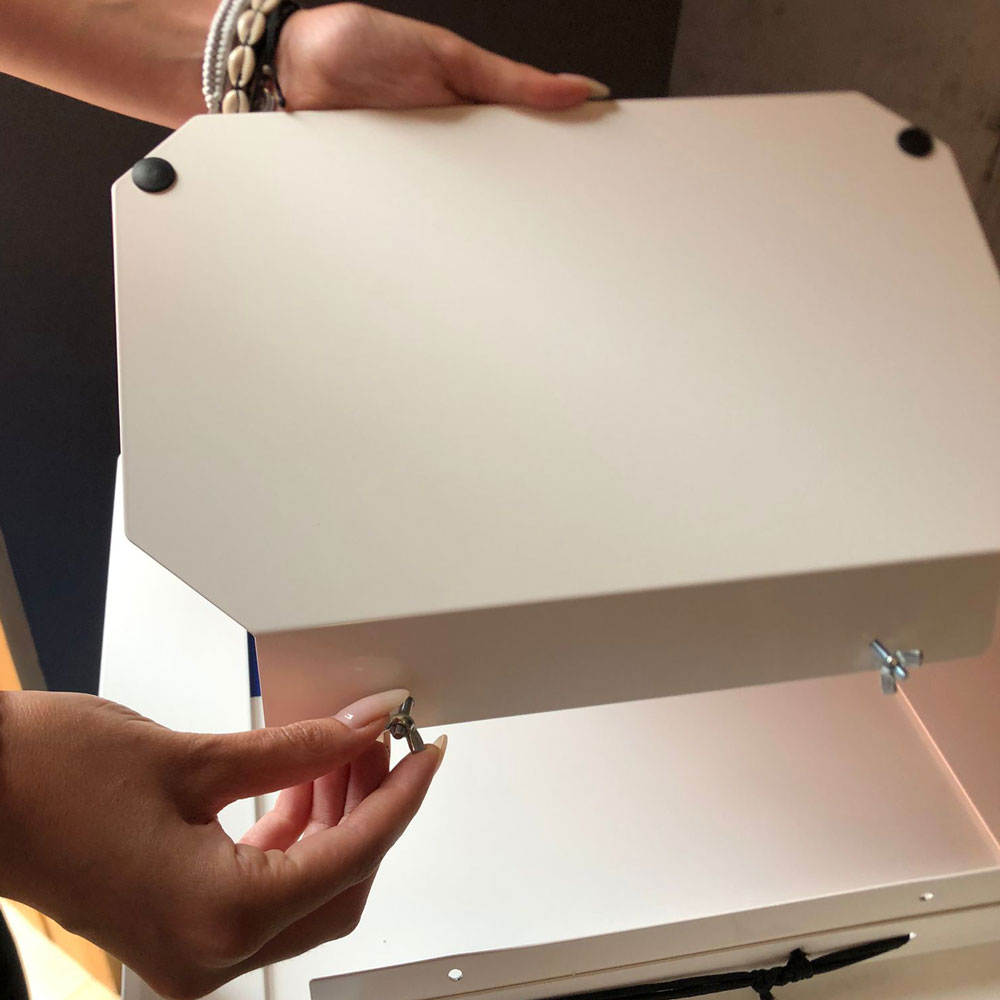
Counter‑shelf: remove the screws.
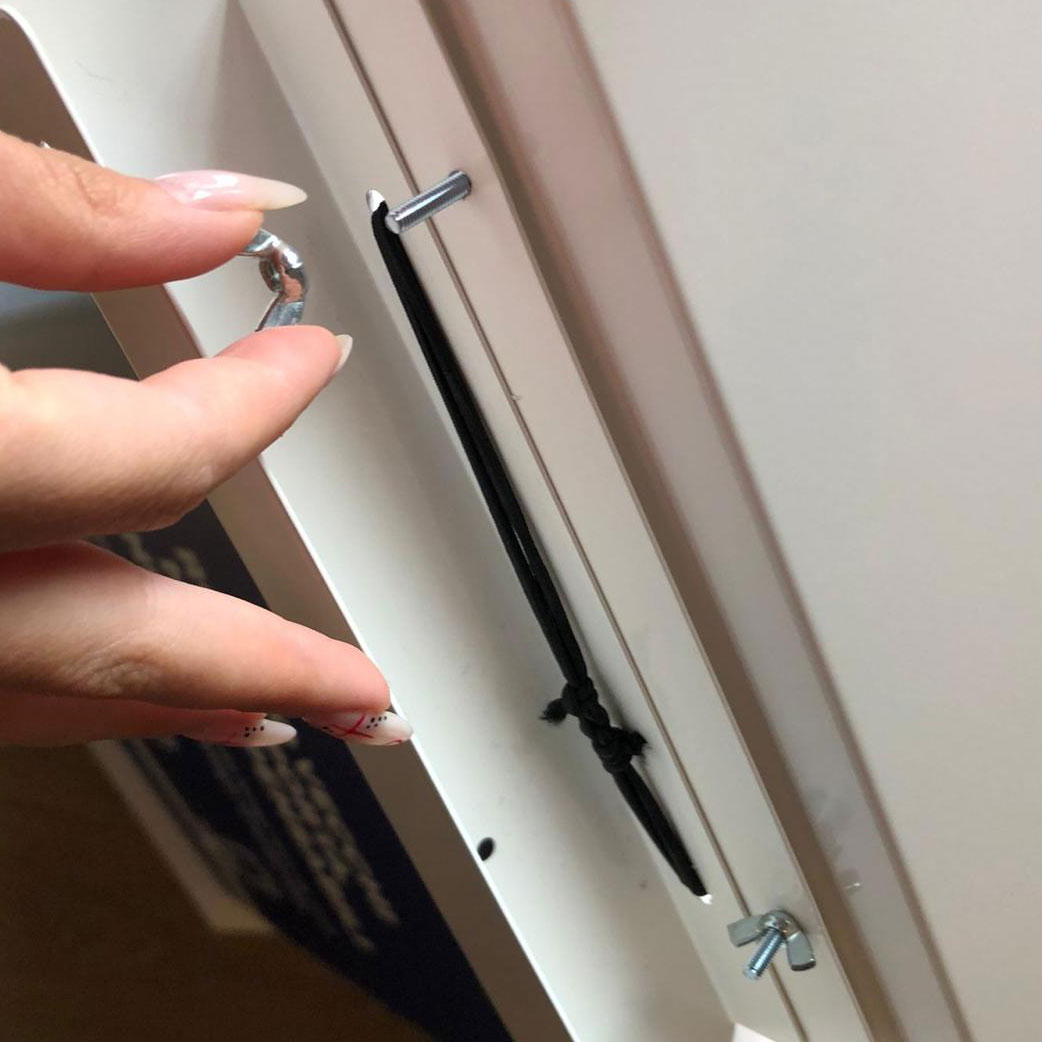
Refasten the screws between the counter‑door and the door.
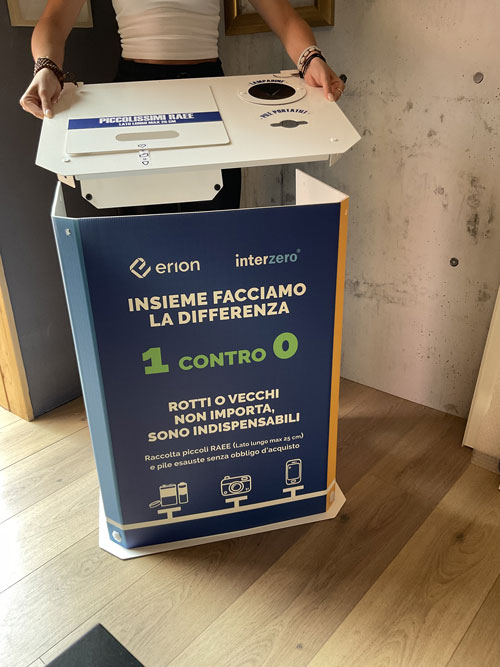
Secure the top panel.
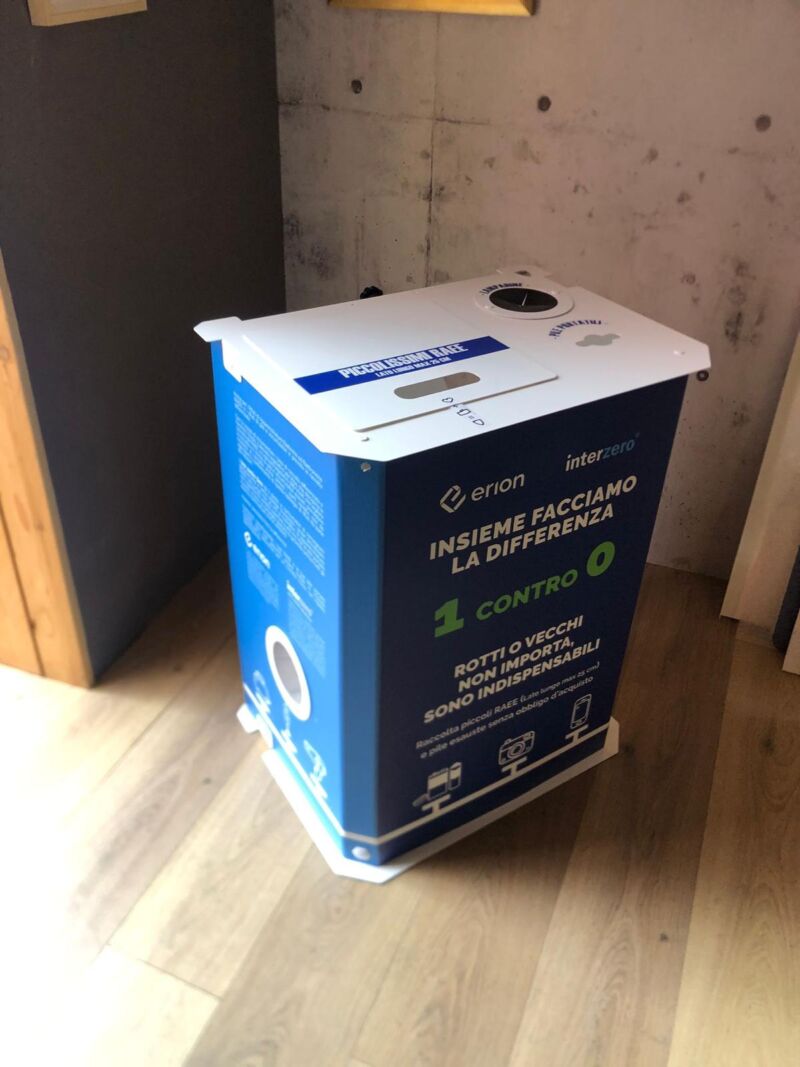
We are almost done, now fit the crowner.
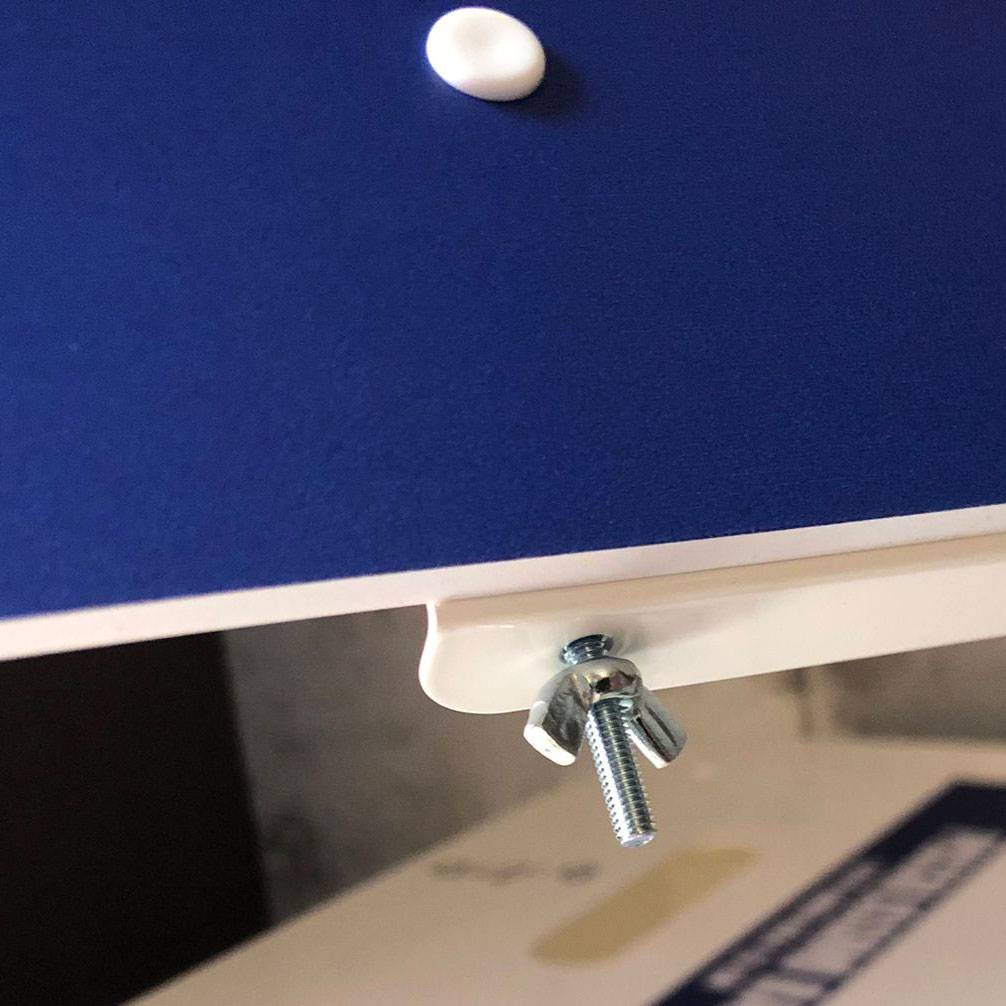
Take the crowner.
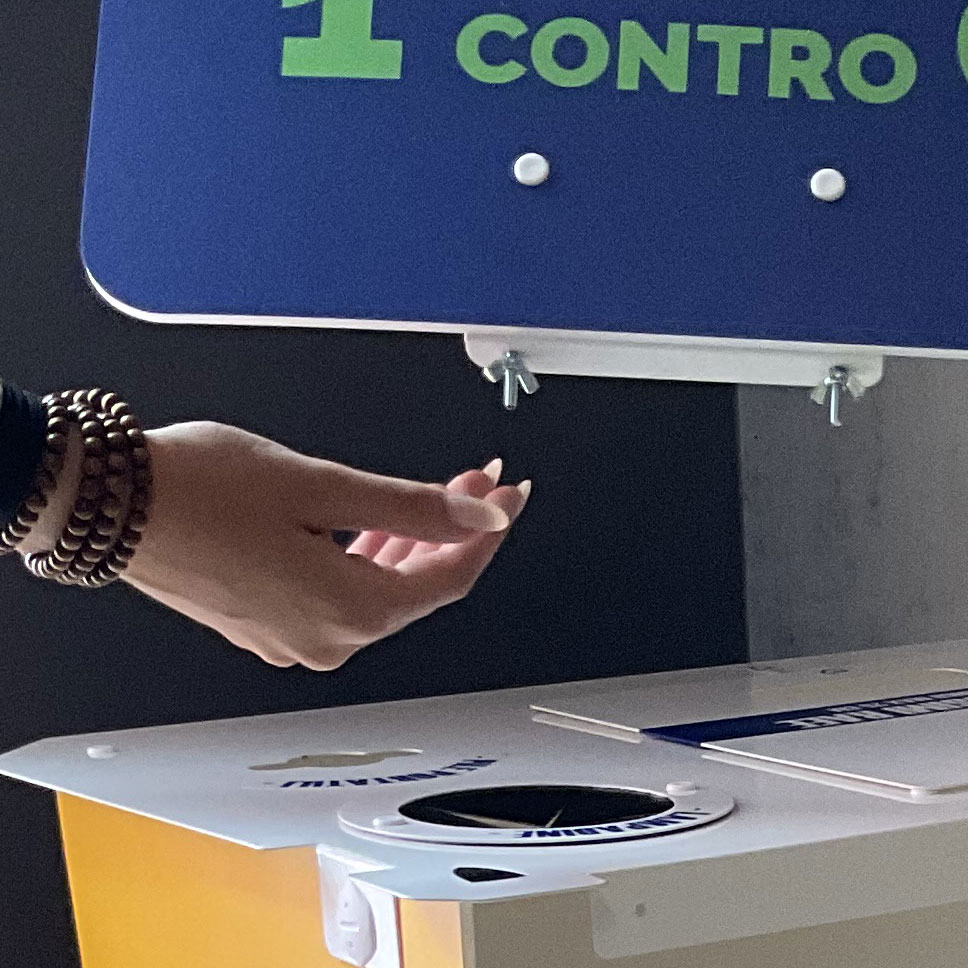
Remove the pre‑inserted screws.
Secure into the 2 holes on the top panel.
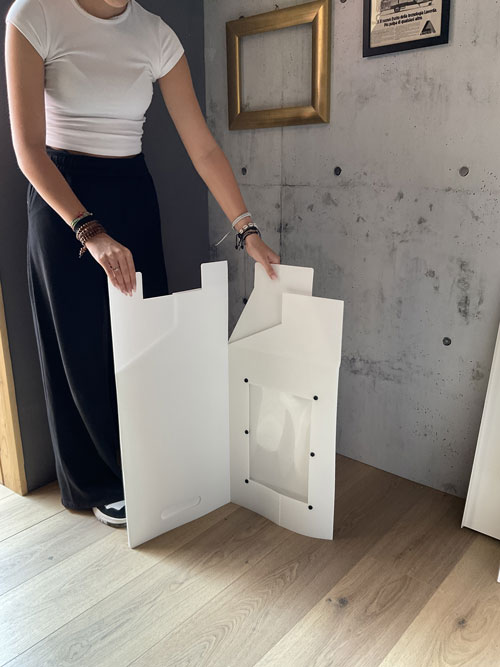
Assembly of the internal containers
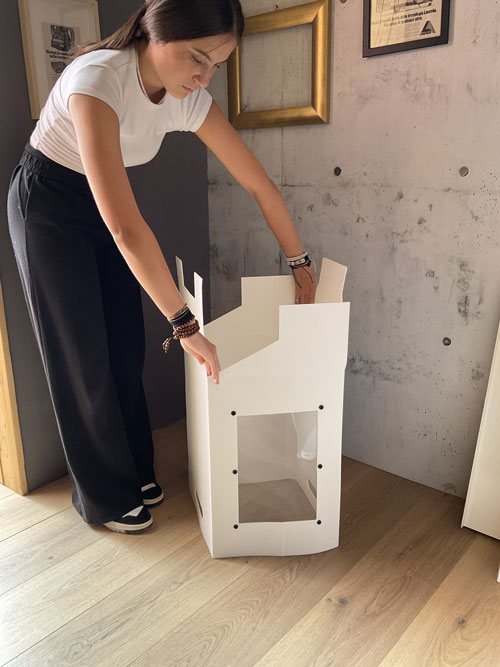
Follow the steps.
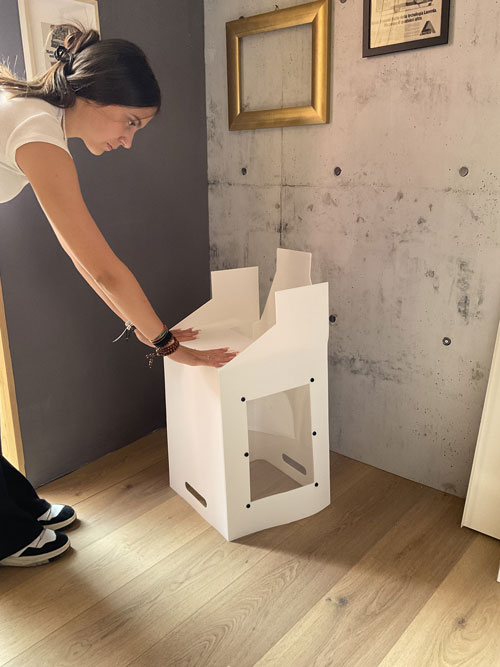
Follow the steps.
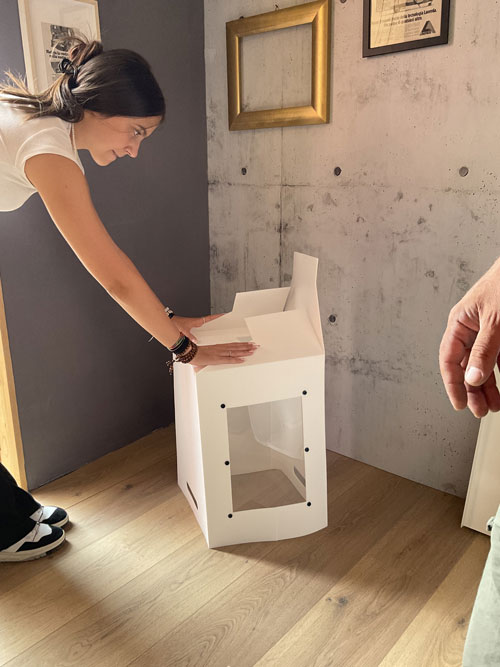
Follow the steps.
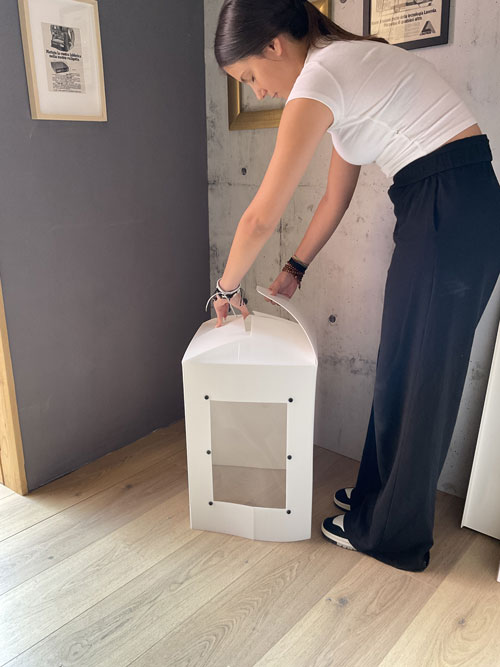
Follow the steps.
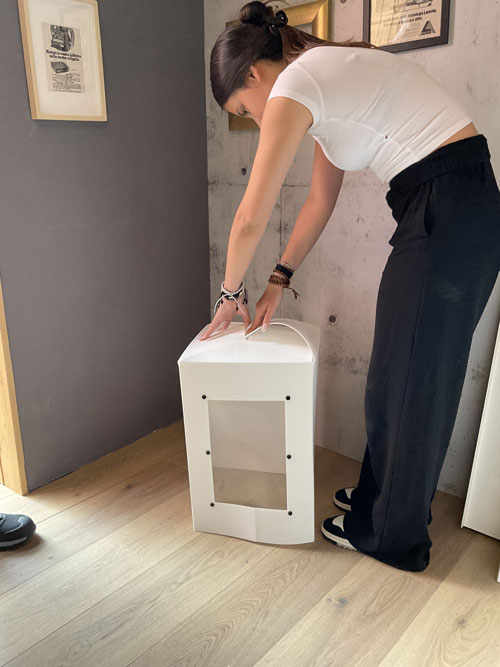
Follow the steps.
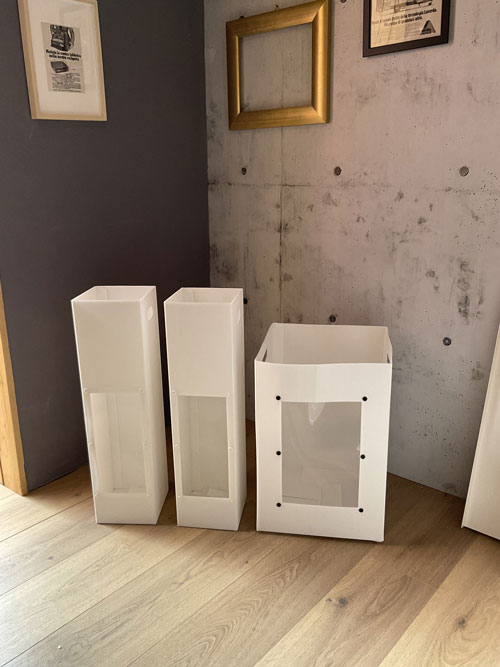
1 large and 2 small
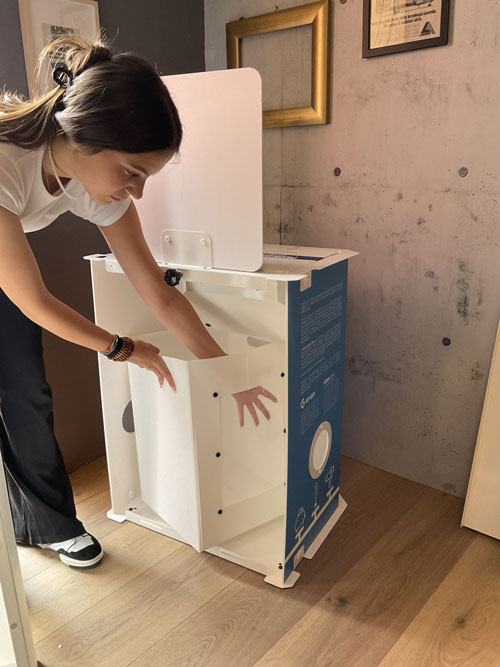
Insert the container with the window‑side facing the porthole.
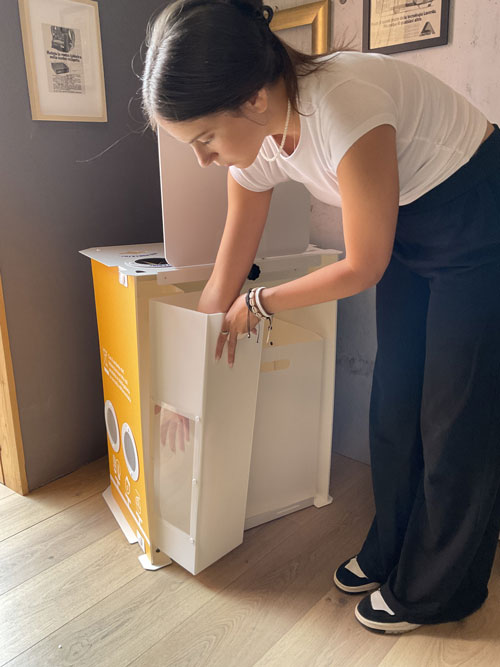
Insert the container with the window‑side facing the porthole.
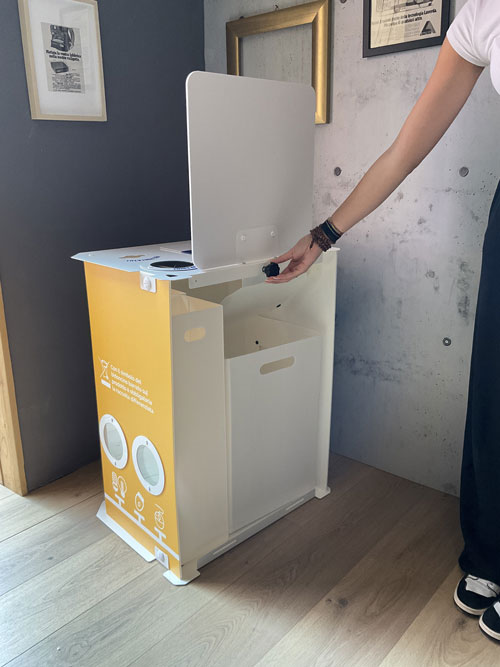
Openable door and closure.
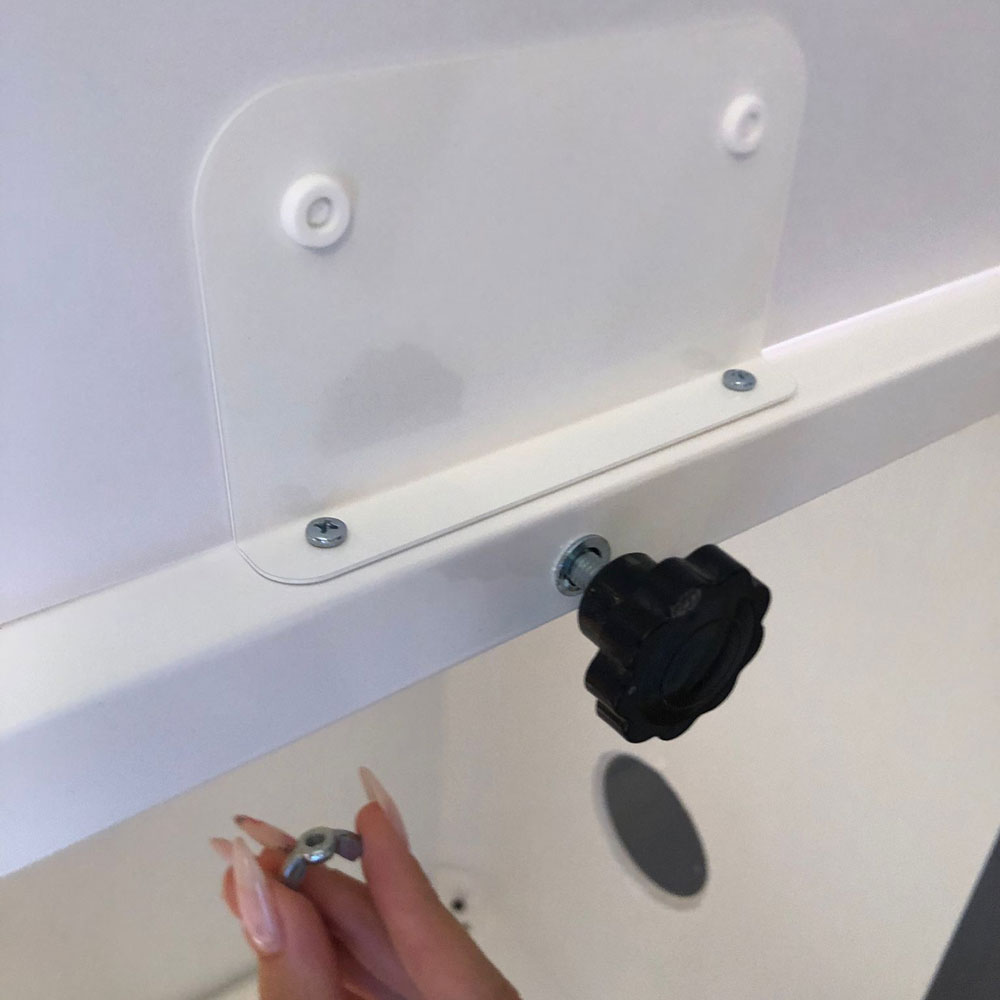
Unscrew the pre‑fitted black knob.
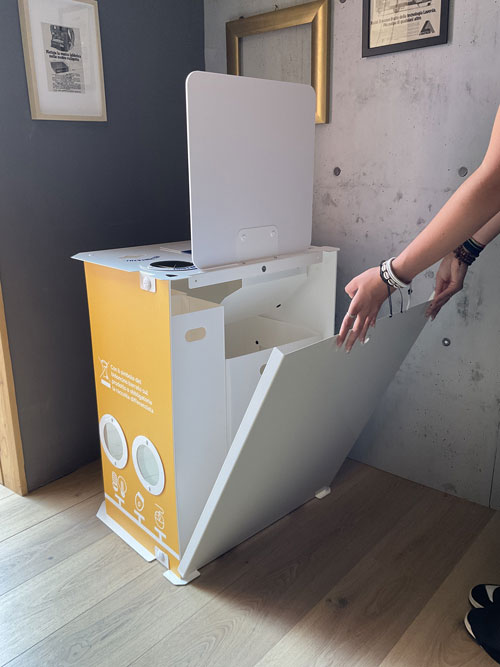
Take the rear closing door.
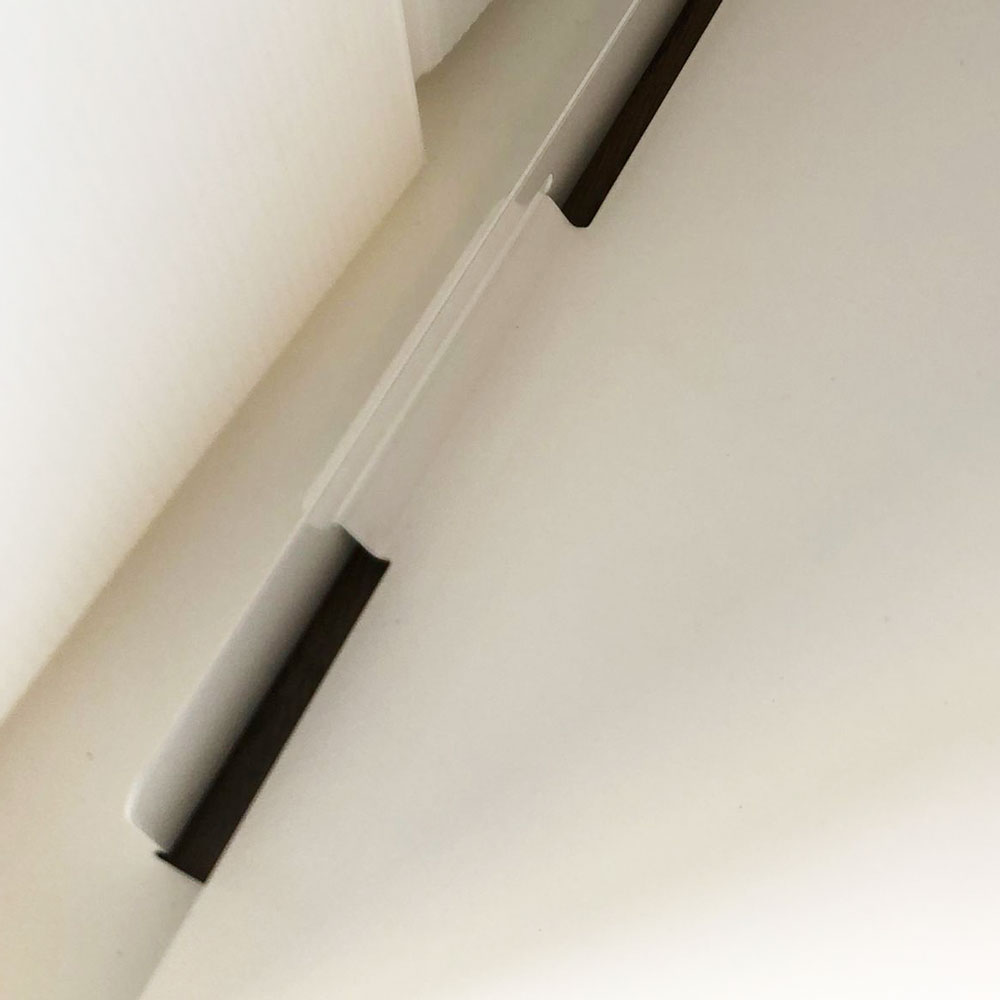
Insert the door into the 2 lower slots.
The door pivots in the 2 slots.
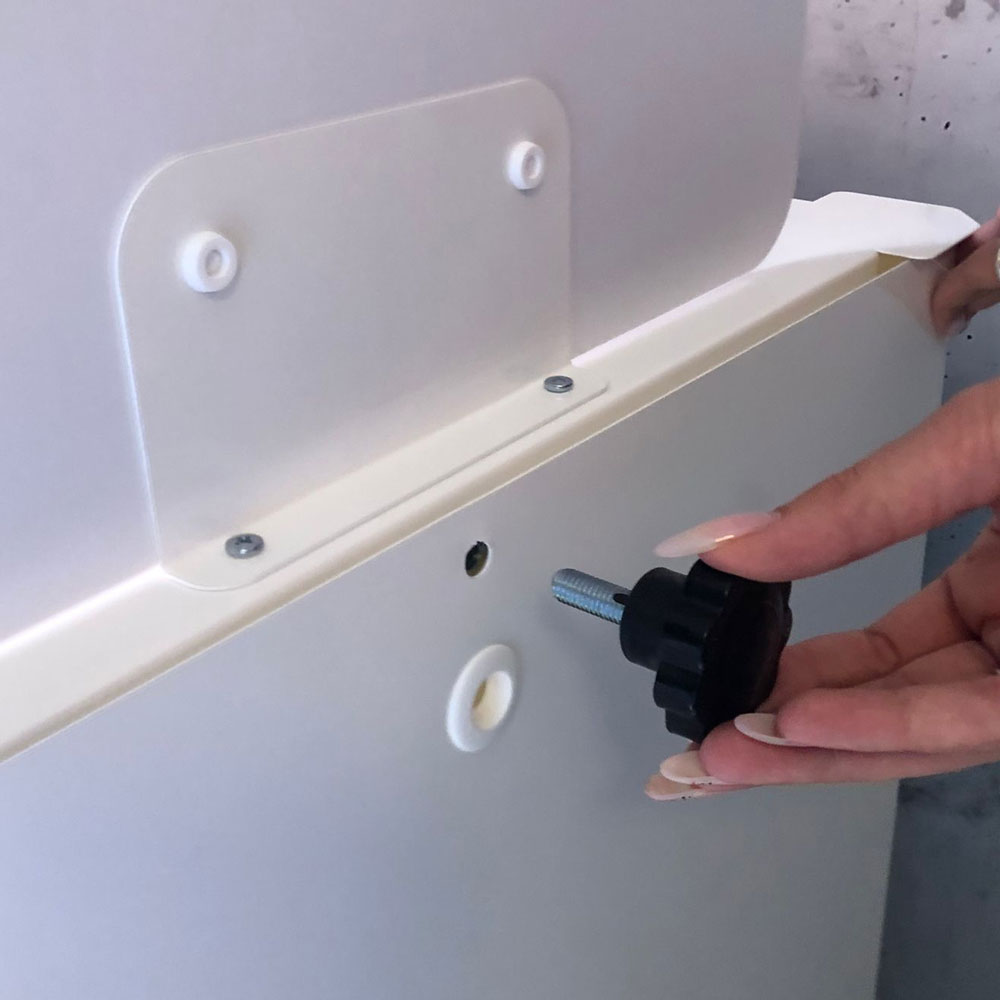
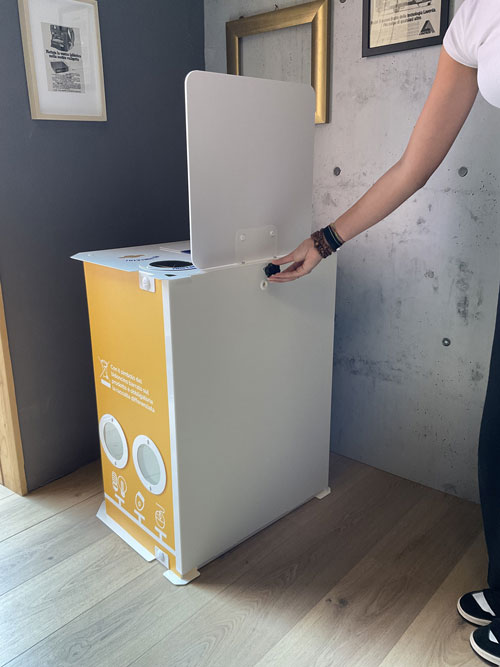
Close the door using the black knob.
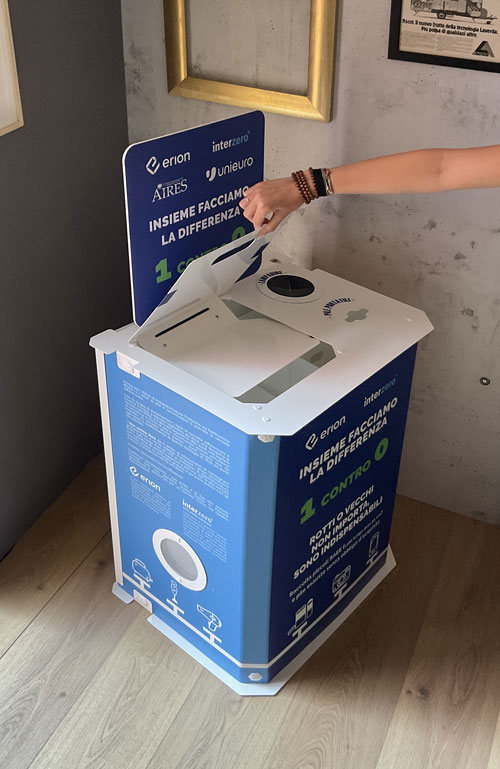
Thank you for setting up a new Fastand WEEE station.
For proper cleaning, please use only standard detergents and paper; the surfaces are moisture-resistant.
Good luck with your work.